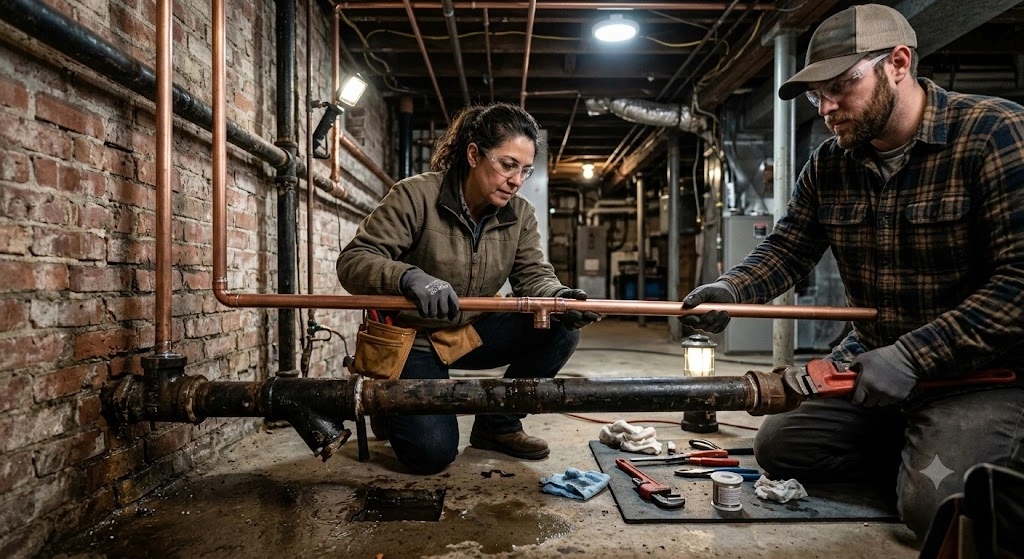
Most pipe leaks are not caused by material failure; in many cases, they result from installation issues that can remain unnoticed for months or even years. Pipe Installation Mistakes made within just a few hours can gradually weaken an entire piping system and affect its performance throughout its service life. By the time a leak becomes noticeable, the pipe is often buried underground, concealed inside a wall, or otherwise difficult and expensive to access.
This guide explains the specific installation mistakes responsible for most leaks in Pakistani plumbing and water supply systems. It also provides practical, step-by-step advice to help prevent pipe leakage before it occurs, whether you are working with HDPE, PVC, or PPRC pipes.
Why Most Leaks Start at the Joint, Not the Pipe
Certified pipe rarely fails on its own — the material has been tested for pressure, impact, and long-term durability. Leaks overwhelmingly originate at joints and connections, where installation technique, not material quality, determines whether the system holds. This is true across every pipe material used in Pakistan, from fused HDPE mains to solvent-cemented PVC drainage lines.
Mistake #1: Poor Trench Bedding
One of the most common and entirely avoidable pipe installation mistakes is laying pipe directly on uneven, rocky, or debris-filled trench bottoms. When a pipe rests unevenly against a sharp stone or hard clump of soil, it creates a concentrated point of stress — point-loading — that can crack the pipe wall over time, especially once backfill weight and surface traffic load are added above it.
How to prevent it: Always prepare a compacted bed of sand or fine granular fill along the entire trench bottom before laying pipe, and never allow the pipe to rest directly on rock or construction debris.
Mistake #2: Incorrect Slope on Drainage Lines
Gravity does all the work in a drainage system, so getting the slope wrong causes real problems on both ends of the spectrum. Too flat a gradient, and solids settle and block the line over time; too steep, and fast-moving liquid can outrun solids, leaving waste behind in the pipe.
How to prevent it: Use a level or laser grade tool to maintain consistent slope throughout the run — a common reference for household waste lines is roughly 1:60 to 1:100 (1–2% grade), though larger mains should be slope-calculated by an engineer.
Mistake #3: Facing and Fusion Errors on HDPE Joints
For HDPE pipe joined by butt-fusion, several installation errors quietly weaken what looks like a completed joint:
Skipping proper facing, leaving debris or an uneven surface on the pipe ends before heating
Using incorrect heater plate temperature for the specific pipe grade and thickness
Releasing clamp pressure before the joint has fully cooled
How to prevent it: Follow the pipe manufacturer’s specified fusion parameters exactly, inspect the fusion bead for uniform consistency around the full joint circumference, and never rush the cooling stage even under time pressure on-site.
Mistake #4: Wrong or Incompatible Fittings
Mixing fitting types and pressure classes is a widespread and preventable cause of leakage. Common versions of this mistake:
Using a lower pressure-rated fitting on a higher-rated pipe, creating a weak point regardless of the pipe’s own strength
Mixing PVC solvent-cement fittings where a buried, ground-movement-prone line actually needed rubber-ring joints
Attempting to electrofuse HDPE fittings to pipe from a different material grade without confirming fusion compatibility
How to prevent it: Always match fitting pressure class and jointing method to the pipe specification, and source pipe and fittings from the same certified manufacturer where possible to avoid tolerance mismatches between suppliers.
Mistake #5: Poor Solvent Cement Application on PVC Joints
For PVC pipe joints, uneven or insufficient solvent cement coverage is one of the most common causes of slow, hard-to-detect leaks. Applying cement too thinly, not rotating the fitting during assembly, or releasing the joint before the specified set time all weaken the chemical bond.
How to prevent it: Apply solvent cement evenly to both the pipe and fitting surfaces, rotate the fitting a quarter turn during insertion to spread the cement, and hold the joint firmly for the full manufacturer-specified set time before releasing.
Mistake #6: Backfilling Too Quickly
Rushing the backfill process — dumping unscreened fill material with large stones directly onto the pipe — can crack or point-load the pipe even after correct bedding and jointing.
How to prevent it: Backfill in layers, placing fine material directly around the pipe (haunching and initial backfill) before introducing larger fill material higher in the trench, compacting each layer as you go.
Mistake #7: Skipping Pressure or Flow Testing Before Closing the Trench
Perhaps the costliest mistake of all: closing a trench or finishing a wall before confirming the system actually holds. A joint that looks correctly assembled can still leak once pressurized, and catching this before backfill or wall finishing is dramatically cheaper than diagnosing it afterward.
How to prevent it: Run water through the completed line and visually inspect every joint before backfilling is finished or before walls/flooring are closed permanently.
Quick Reference: Mistake vs. Prevention
| Mistake | Prevention |
| Poor trench bedding | Compacted sand/fine-fill bed under the full pipe length |
| Wrong drainage slope | Check with level/laser tool, follow correct gradient |
| HDPE fusion errors | Follow manufacturer’s exact fusion parameters, inspect bead |
| Mismatched fittings | Match pressure class and jointing method to pipe spec |
| Poor solvent cement application | Even coating, quarter-turn insertion, full set time |
| Fast/careless backfilling | Layer and compact backfill, fine material first |
| Skipping pre-closure testing | Test and visually inspect before backfilling/finishing |
Standards and Certification Still Matter
Correct installation technique can’t fully compensate for uncertified or underweight pipe. Before installation begins, confirm:
PSQCA certification mark on the pipe itself, confirming compliance with the relevant Pakistan Standard.
Manufacturer’s ISO 9001:2015 certification, reflecting consistent quality control across production batches.
Correct pressure/stiffness class for the application, matched between pipe and fittings.
You can review NewTech-Pipes’ quality control standards as a reference for what documentation a certified manufacturer should provide, since good installation practice and certified material both matter equally for a leak-free system.
A Practical Pre-Installation Checklist
Confirm pipe certification and correct grade/class for the application
Prepare proper trench bedding before laying any pipe
Check and re-check slope on drainage lines with a level tool
Match fittings to pipe material, grade, and pressure class
Follow exact jointing procedures (fusion parameters or solvent cement technique)
Backfill in layers, never dumping fill material quickly
Test the completed system before closing the trench or finishing walls
Conclusion
The overwhelming majority of pipe leaks trace back to preventable pipe installation mistakes — poor bedding, incorrect slope, rushed jointing, or skipped testing — rather than the pipe material itself. Following correct technique at each of these steps is what actually determines whether a system performs reliably for decades. NewTech-Pipes manufactures HDPE and PVC pipes and fittings to certified standards, giving contractors and homeowners a reliable foundation to build a properly installed, leak-free system on.
Frequently Asked Question's
In my experience, it’s almost never the pipe material itself — certified HDPE, PVC, and PPRC are all tested to hold pressure well beyond normal operating conditions. The leaks I get called out for are overwhelmingly joint failures: poor trench bedding causing point-loading, rushed HDPE fusion joints, or under-cemented PVC connections. If you trace a leak back far enough, it’s almost always an installation shortcut, not a material defect.
Inspect the fusion bead around the entire circumference of the joint — it should be uniform, symmetrical, and continuous with no gaps, discoloration, or uneven rollback. An irregular or lopsided bead is a clear warning sign of incorrect heater temperature, poor facing, or the clamp being released too early. Never backfill over a joint that doesn’t pass this visual check, even if it looks “close enough.”
A typical household waste line should run at roughly 1–2% grade (about 1:60 to 1:100), though larger mains need proper engineering calculation. Too flat, and solids settle and eventually block the line; too steep, and fast-moving water outruns solids, leaving waste behind anyway. I’ve seen more callbacks from incorrect slope than almost any other single mistake, because the pipe looks perfectly installed until it starts backing up months later.
Yes, without exception. This is the step I see skipped most often under time pressure, and it’s also the costliest mistake to skip. A joint can look perfectly assembled and still fail once the system is pressurized — catching that before backfill or wall finishing takes an hour; catching it after means breaking open a wall or re-excavating a trench. I treat this as non-negotiable on every job.
No — technique and material quality solve two different problems. Even a textbook-perfect installation can’t compensate for pipe that’s underweight for its pressure class or lacks proper PSQCA/ISO certification. I always tell clients: verify certification first, then focus on installation quality. Skipping either one undermines the other, and a leak caused by underweight pipe will happen regardless of how well the joints were made.