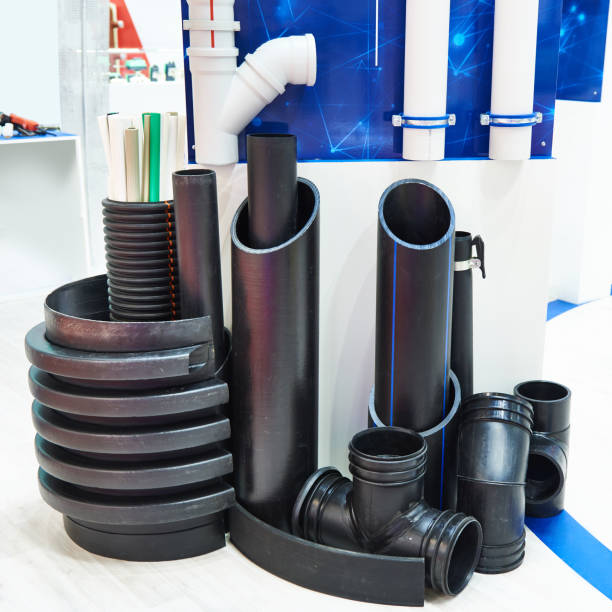
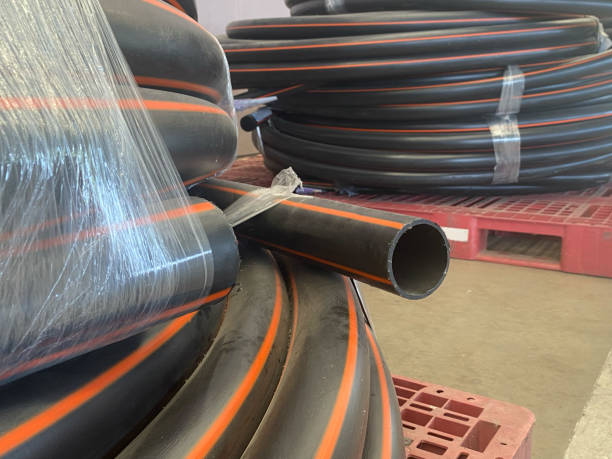
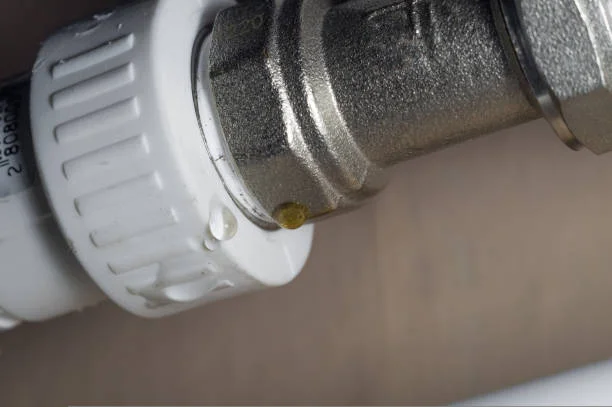
Discover the unparalleled durability, flexibility, and eco-friendliness of HDPE pipes, setting them apart as a preferred choice for various construction applications. As we delve into their distinctive features and installation guidelines, it’s evident that HDPE pipes offer unmatched benefits, paving the way for a smarter, greener future in infrastructure development.
Exploring the Distinctive Features of HDPE Pipe
Features of HDPE Pipe:
Discover the unique characteristics and advantages of HDPE pipes in this insightful exploration. Learn about their durability, flexibility, and eco-friendliness, setting them apart as a preferred choice for various construction applications.

Introduction Of Distinctive Features of HDPE Pipe
The installation of High-Density Polyethylene (HDPE) pipes demands a meticulous approach to guarantee optimal performance, longevity, and reliability in various applications. Here is an overview of key considerations and steps involved in the Features of the HDPE pipes installation process:

The unique characteristics of HDPE pipes shine through, boasting remarkable durability, flexibility, and eco-friendliness. As we explore the distinctive features and installation guidelines, it’s evident that HDPE pipes offer unparalleled benefits, making them a preferred choice for various applications. Join us in embracing a smarter, greener future with HDPE pipes, where innovation meets sustainability.
Looking for a reliable piping solution? Explore the exceptional features of HDPE pipes, including corrosion resistance, leak-free joints, and environmental sustainability. With their versatility and durability, HDPE pipes offer a cost-effective and eco-friendly choice for diverse applications
Installation Hdpe Pipe
1. Site Preparation:
- Begin by preparing the site, ensuring a stable and level foundation for the installation.
- Clear the area of any debris or obstructions that may hinder the process.
2. Trenching:
- Excavate a trench according to the specified dimensions, allowing ample space for the HDPE pipes and necessary fittings.
- Ensure the trench provides proper support and alignment for the pipes.
3. Bedding and Backfilling:
- Create a suitable bedding material at the base of the trench to provide additional support and prevent pipe damage.
- Gradually backfill the trench, compacting the soil in layers to secure the pipes in place.
4. Pipe Handling and Placement:
- Handle Features of HDPE pipes with care to avoid damage to the material.
- Place the pipes in the trench, ensuring proper alignment and joint connections.
5. Jointing:
- Use appropriate fusion techniques for jointing HDPE pipes, ensuring leak-free and secure connections.
- Follow manufacturer guidelines for fusion equipment and procedures.
6. Testing:
- Conduct pressure and leakage tests to verify the integrity of the installed Features of the HDPE pipes system.
- Address any issues identified during testing before proceeding to the next steps.
7. Covering and Restoration:
- Cover the installed pipes with the required amount of soil to protect them from external elements.
- Restore the surface to its original condition, considering landscaping and environmental aspects.
8. Documentation:
- Maintain detailed records of the installation process, including fusion parameters, test results, and as-built drawings.
9. Training and Compliance:
- Ensure that personnel involved in the installation are trained and certified for handling Features of HDPE pipes.
- Adhere to industry standards, local regulations, and manufacturer recommendations throughout the installation.
10. Post-Installation Inspection:
- Conduct a final inspection to verify the overall quality and adherence to standards.
- Address any post-installation adjustments or corrections as needed.


